Skip to content
GAMES
CS2
FORTNITE
CS:GO
ESCAPE FROM TARKOV
PUBG
APEX LEGENDS
NBA
REVIEWS
GUIDES
NEWS
ABOUT US
GAMES
CS2
FORTNITE
CS:GO
ESCAPE FROM TARKOV
PUBG
APEX LEGENDS
NBA
REVIEWS
GUIDES
NEWS
ABOUT US
Search
GUIDES
GUIDES
Genshin Impact Tier List
GUIDES
How to find Sweet Apple Pokemon
GUIDES
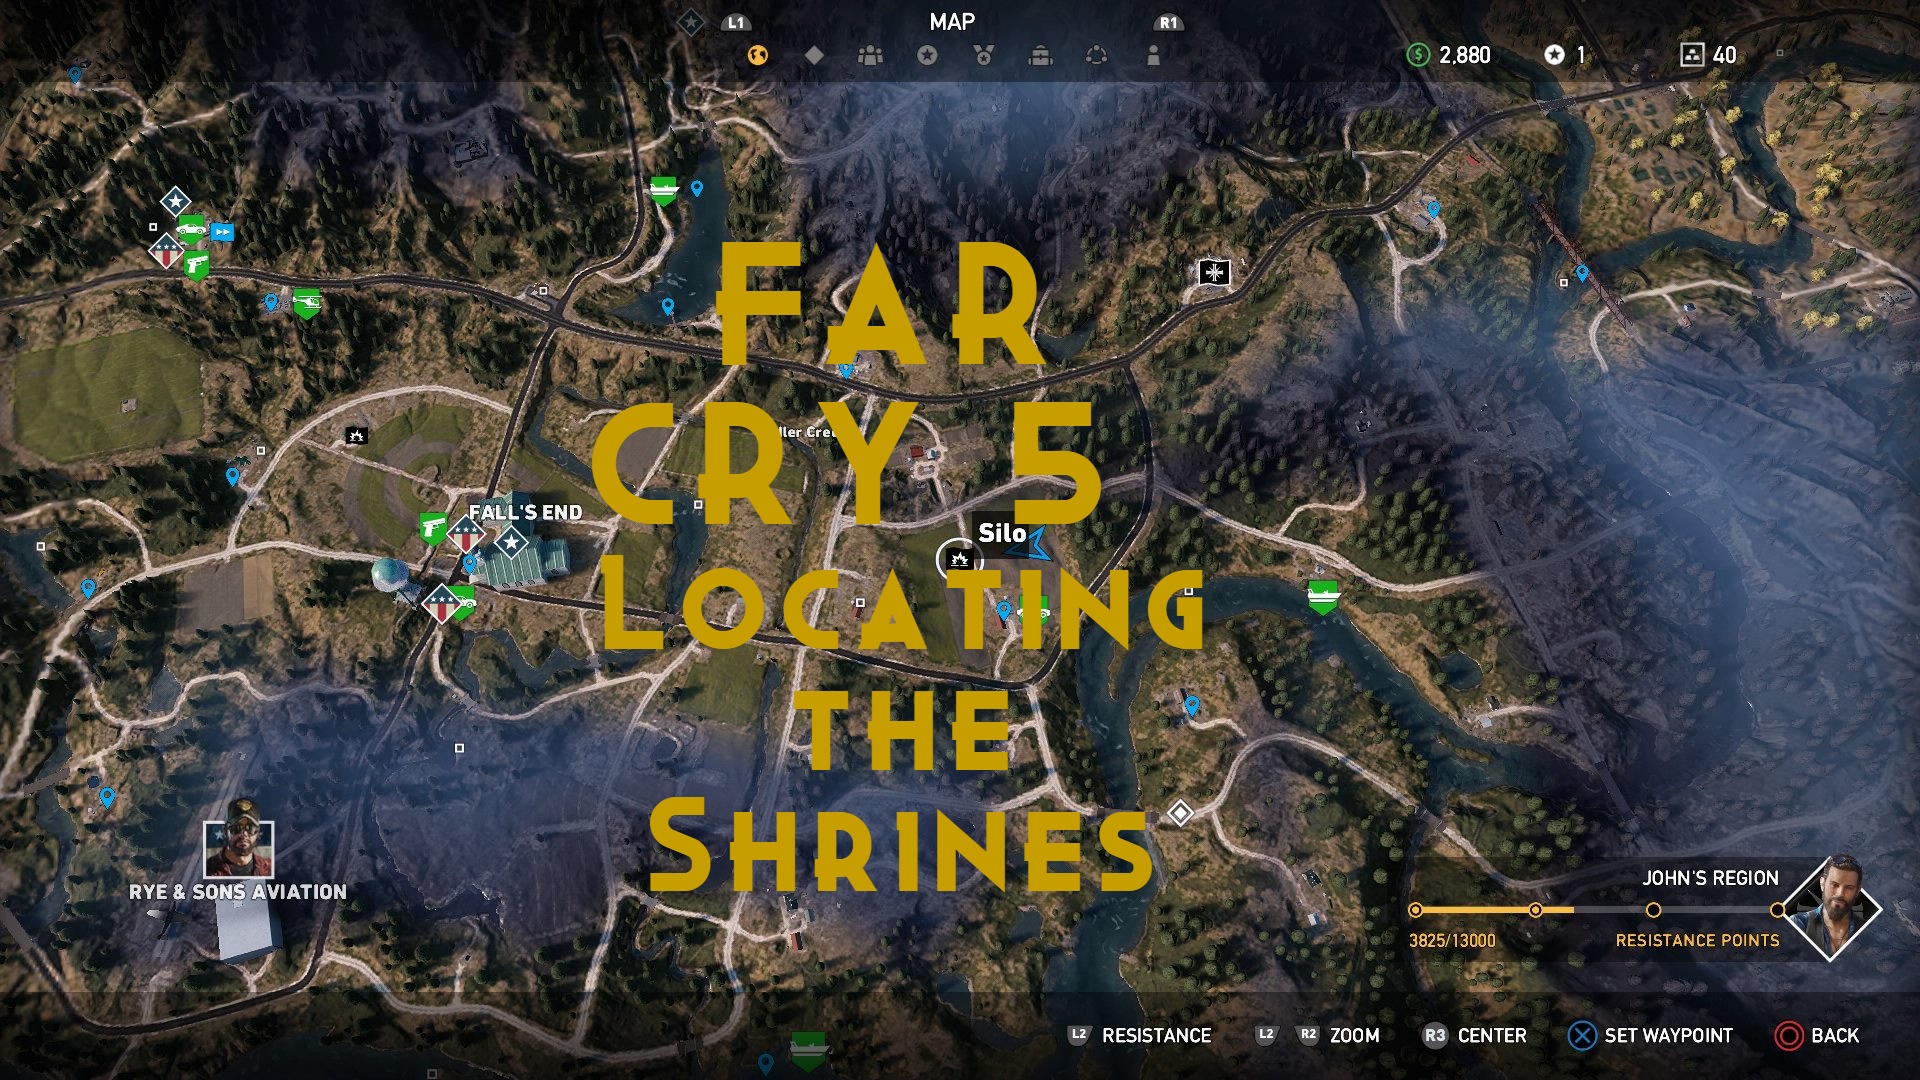
Far Cry 5- Locating the Shrines
GUIDES
Kingdom Hearts 3: List of all Game Records
GUIDES
Kingdom Hearts 3: Finding The Treasure
GUIDES
Unlocking Proving Grounds: Borderlands 3
GUIDES
Days Gone Trophy Guide
GUIDES
Control Trophy Guide
GUIDES
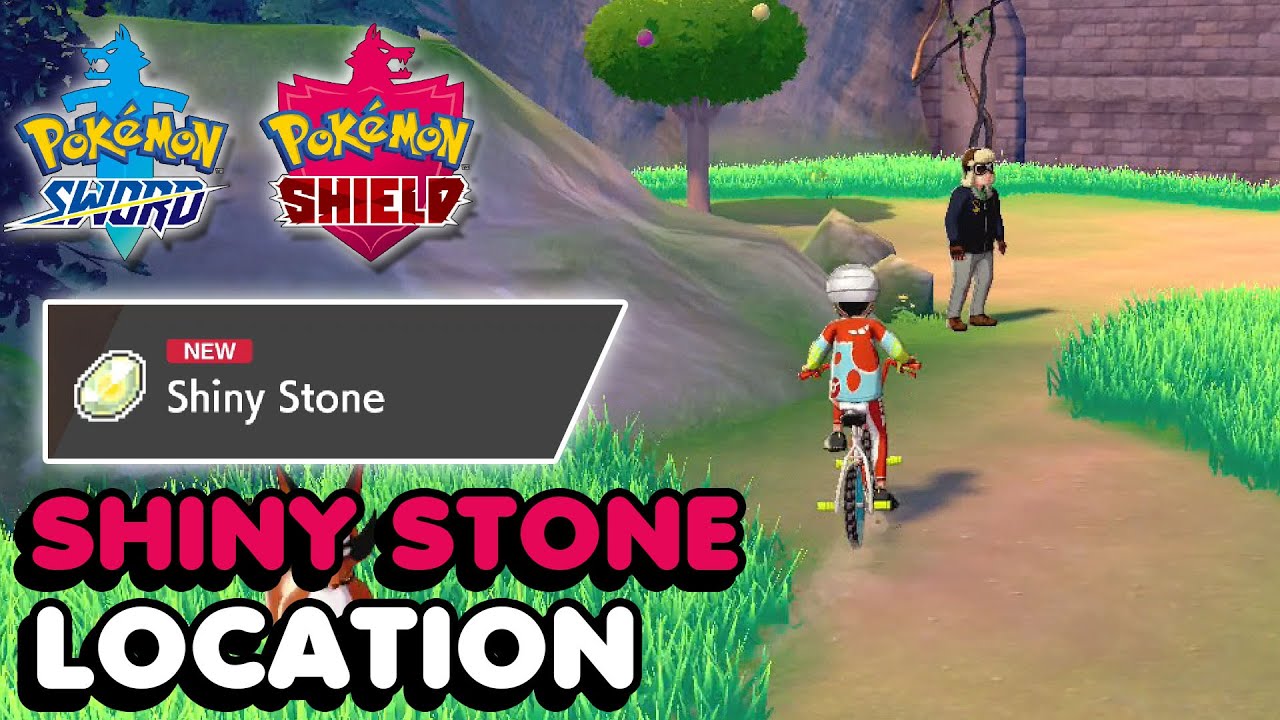
Pokémon Sword and Shield: Discover The Shiny Stones
GUIDES
Resident Evil 2: Trophy Guide
Page
1
Page
2
Page
3
Page
4